 Pin It
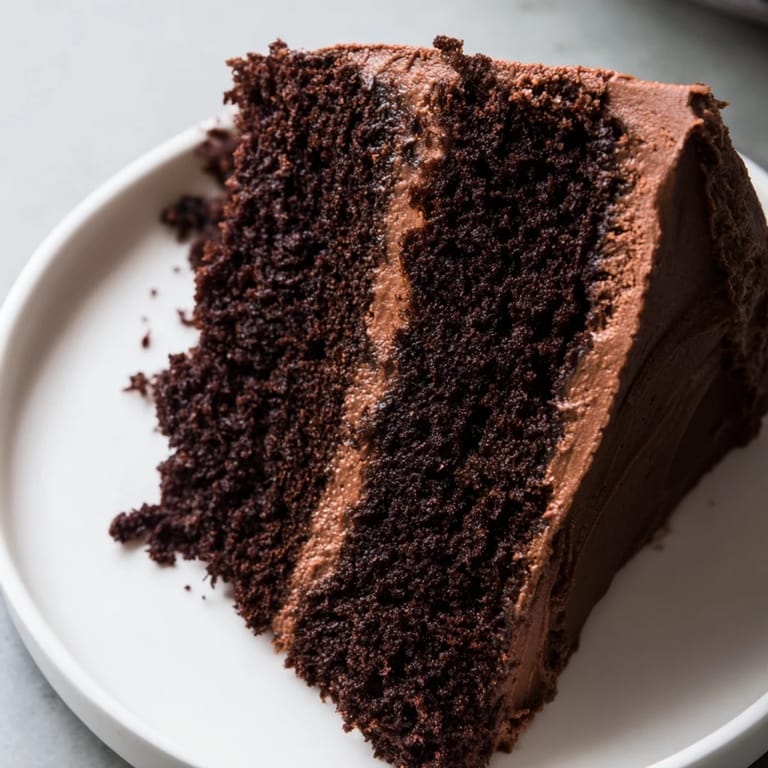
 There's something about the smell of devil's food cake baking that makes the whole kitchen feel like it's conspiring with you. My aunt taught me this recipe one rainy afternoon when I was convinced I couldn't bake anything worth eating, and she pulled out this recipe like it was a secret weapon. The moment those layers came out of the oven, deep mahogany and still steaming, I understood why people call it indulgent—this cake doesn't apologize for how good it is. It's the kind of dessert that transforms an ordinary day into something worth remembering.
I'll never forget the first time I made this for my partner's birthday dinner. I was nervous the layers would crack or stick, but they released from the pans like they wanted to cooperate, and when I spread that chocolate frosting between them, catching those pockets of air that made it so pillowy, something just clicked. We sat at the table with the cake in the middle, still warm, and took the first bite together in the kind of silence that means the food is doing all the talking.
Ingredients
- All-purpose flour: The foundation here; make sure to sift it with the cocoa and sugar so you don't get lumps hiding in that chocolate powder.
- Dutch-processed cocoa powder: This is where the magic happens—it's darker and smoother than regular cocoa, almost like it's been aged for sophistication.
- Granulated sugar: Use the regular stuff; it dissolves cleanly into the batter and gives you that tender crumb.
- Baking powder and baking soda: Both are essential here; the combination creates that rise and helps the boiling water integrate into the batter.
- Fine sea salt: A small amount that deepens the chocolate flavor and balances the sweetness—don't skip it.
- Room temperature eggs and milk: Cold ingredients seize up with chocolate; bringing them to room temperature means everything mixes smoothly and evenly.
- Vegetable oil: Oil keeps cakes moister than butter alone, and it won't interfere with that tender crumb you're after.
- Boiling water: This sounds strange, but it blooms the cocoa powder and creates a batter that looks thin but bakes into something dense and fudgy.
- Unsalted butter for frosting: Softened butter whips into peaks when you beat it, creating that airy texture that makes frosting taste like velvet.
- Powdered sugar: Always sift it first; nobody wants a grainy frosting when you've come this far.
Tired of Takeout? 🥡
Get 10 meals you can make faster than delivery arrives. Seriously.
One email. No spam. Unsubscribe anytime.
Instructions
- Get everything ready:
- Preheat your oven to 350°F and grease those two 9-inch pans, then line them with parchment paper—this is your insurance policy against sticky situations. Bring your eggs and milk out of the fridge now if you haven't already; cold ingredients mixing with hot water creates uneven baking.
- Build your dry base:
- Sift the flour, cocoa powder, sugar, baking powder, baking soda, and salt together into a large bowl. This step matters more than you'd think; you're breaking up any lumps and aerating everything so the wet ingredients can incorporate smoothly.
- Create the wet mixture:
- Add your room temperature eggs, milk, oil, and vanilla to that dry mixture and beat on medium speed until just combined—don't overmix or your cake will be tough. You're looking for a texture that's uniform but not overdone.
- Add the boiling water moment:
- Turn the mixer to low speed and carefully pour in that boiling water; the batter will look impossibly thin and soupy, but that's exactly right. Mix until smooth, maybe another 30 seconds; the water is hydrating everything and creating that signature moist crumb.
- Divide and bake:
- Split the batter evenly between your prepared pans—a measuring cup helps here—and slide them into the oven. Bake for 28 to 32 minutes; you'll know they're done when a toothpick inserted in the center comes out clean or with just a few moist crumbs.
- Cool with patience:
- Let the cakes rest in their pans for 10 minutes to set, then turn them out onto wire racks. This waiting period is torture, but patience here means layers that won't fall apart when you frost them.
- Make the frosting magic:
- Beat your softened butter on medium-high speed for a couple of minutes until it's creamy and pale, then gradually add your sifted powdered sugar and cocoa powder. Once it's smooth, add the milk, vanilla, and salt, then beat until fluffy—if it looks too thick, add milk a tablespoon at a time until it's spreadable.
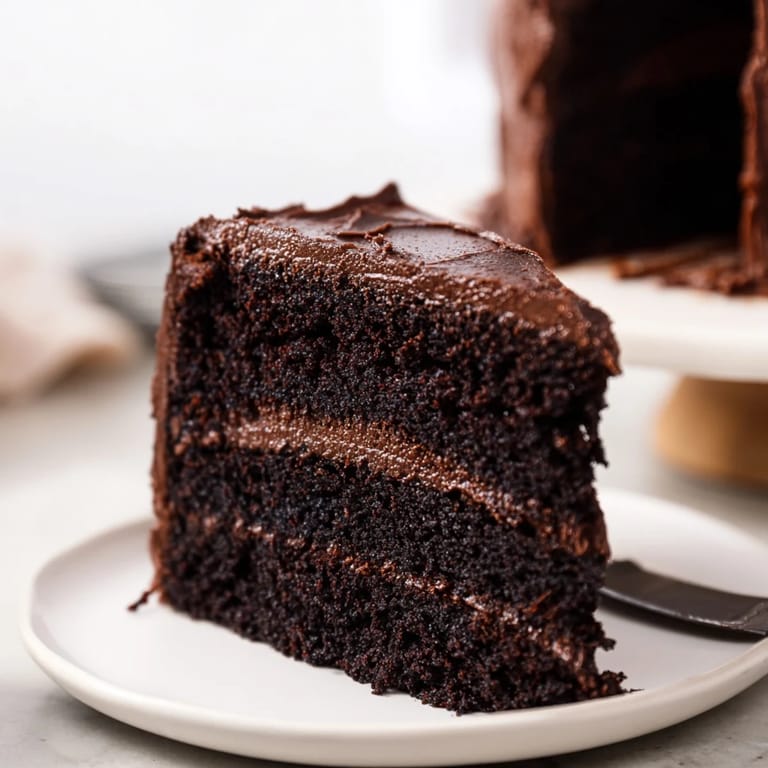
- Assemble with confidence:
- Place one cake layer on your serving plate, spread a generous layer of frosting on top, then crown it with the second layer. Frost the top and sides with what's left, working the offset spatula or knife in smooth strokes so the whole thing looks intentional.
 Pin It
 The real moment this cake became sacred was when my best friend arrived at my door going through something heavy, and I'd just pulled these layers out to cool. We didn't talk about her problems right away; we just sat with slices of cake, the chocolate speaking louder than words, and somehow everything felt a little more manageable.
The Science of Serious Chocolate
Dutch-processed cocoa powder is cocoa that's been treated with an alkali, which sounds like chemistry but really just means it's darker, less bitter, and dissolves more smoothly than natural cocoa. This particular cake needs that quality because the boiling water isn't just adding moisture—it's blooming the cocoa, intensifying its flavor so every bite hits with that deep, almost wine-like chocolate richness. When you combine it with room temperature ingredients and oil instead of butter alone, you're creating a structure that stays soft and tender instead of drying out.
Frosting Foundations That Work
The frosting is where people often go wrong, oversweetening it or making it too thick to spread. The trick is beating the butter first until it's pale and fluffy—this incorporates air and sets up the texture before you add anything else. Then you're adding cocoa powder gradually, which sounds tedious but prevents lumps and ensures even color and flavor. The milk and vanilla come in at the end to reach that perfect consistency; if it's too thick, add milk in small doses rather than dumping it all in and creating a soupy mess.
Variations and Moments of Glory
This cake is beautiful as-is, but there are ways to make it even more of a statement. Some versions add coffee or espresso powder to the batter for a richer, almost sophisticated depth that doesn't taste like coffee at all—just more chocolate. Others layer in a thin chocolate ganache between the cake layers for extra decadence, which adds a glossy look and that snap when you cut through it. You can also brush the cooled layers with a coffee simple syrup before frosting, which adds moisture and complexity without changing the basic recipe.
- Try substituting brewed coffee for half of the boiling water to make the chocolate flavor more enigmatic.
- A layer of chocolate ganache between the cakes looks restaurant-worthy and only takes an extra five minutes.
- Store leftovers covered at room temperature for up to two days or refrigerated for up to five days, and honestly, the flavor deepens a little after the first day.
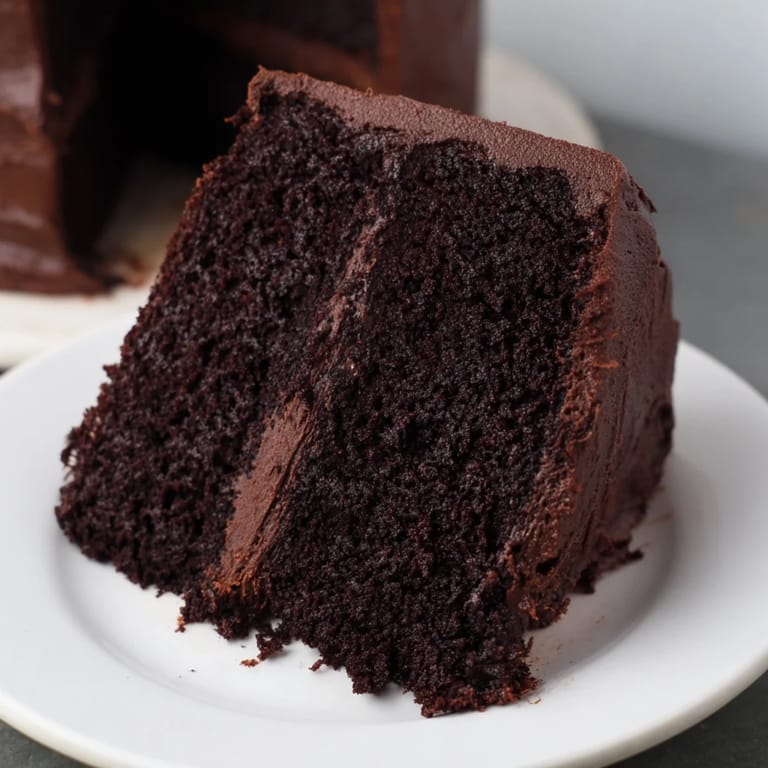 Pin It
 This devil's food cake isn't just a dessert; it's a conversation starter and a moment maker. Bake it and watch what happens when you set it down on a table.
Recipe FAQs
- → What makes this cake ultra-moist?
The addition of boiling water and vegetable oil creates a tender crumb and keeps the cake moist throughout baking.
- → Can I substitute brewed coffee for boiling water?
Yes, brewed coffee enhances the cocoa notes and deepens the chocolate flavor without overpowering the cake.
- → How do I achieve a fluffy chocolate buttercream?
Beat softened butter first, then gradually add powdered sugar and cocoa powder, finishing with milk and vanilla to create a light, spreadable frosting.
- → What pan size is recommended for baking?
Use two 9-inch round cake pans lined with parchment paper to ensure even baking and easy removal.
- → How should I store the cake?
Keep covered at room temperature for up to two days or refrigerate up to five days to maintain freshness.