Pin It
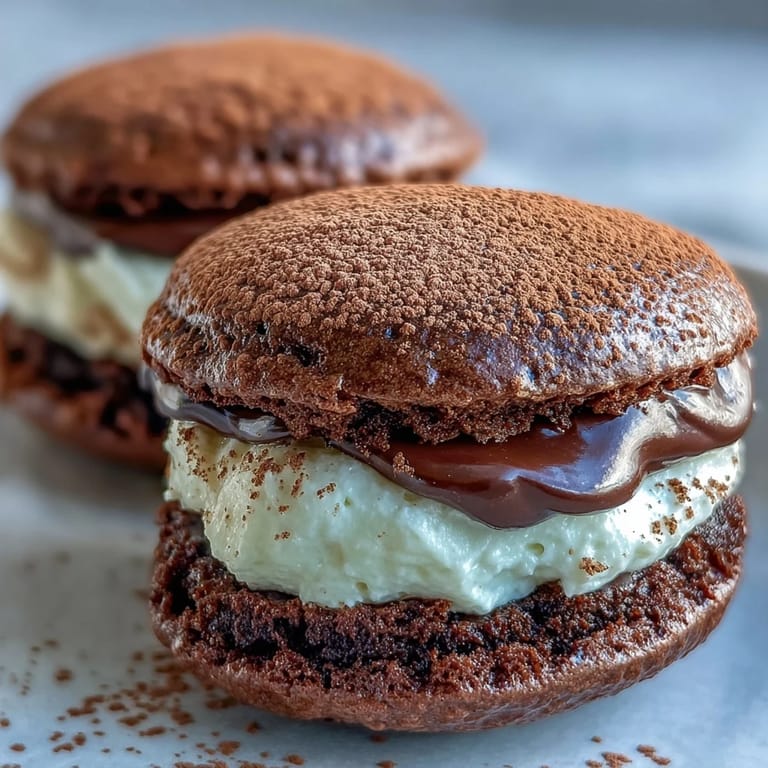
 My kitchen smelled like a cafe that morning, even though I was miles from one. I had just pulled a tray of dark chocolate cookies from the oven, and the espresso filling was chilling in the fridge. A friend was coming over who claimed she didn't like whoopie pies, said they were too sweet and childish. I wanted to prove her wrong with something grown-up, something that tasted like sitting in a tiny Roman coffee bar at twilight.
I made these for a birthday once, arranged on a slate board dusted with cocoa. Everyone stood around the table longer than usual, breaking into second and third servings. One person said it was like eating a cloud that had been soaked in espresso. I still think about that night when I need something that surprises people in a quiet, elegant way.
Ingredients
- All-purpose flour (210 g): The base that gives structure to the soft, tender cookies without making them cakey or dense.
- Unsweetened cocoa powder (55 g): Use a good Dutch-process cocoa if you can, it makes the chocolate flavor deeper and less acidic.
- Baking powder and baking soda: The pair works together to give you that classic domed whoopie pie shape with a little lift.
- Salt: Just a pinch balances the sweetness and makes the chocolate sing a little louder.
- Unsalted butter (115 g), softened: Let it sit out until it's truly soft, or the batter won't come together smoothly.
- Granulated sugar (200 g): Creams with the butter to create air pockets that keep the cookies light.
- Large egg: Binds everything and adds moisture, bring it to room temperature first for better mixing.
- Vanilla extract: A teaspoon is enough to add warmth without competing with the coffee notes.
- Whole milk (240 ml): The fat content matters here, it keeps the cookies moist and tender as they cool.
- Mascarpone cheese (225 g), chilled: The soul of the filling, creamy and mild, it takes on coffee flavor like a dream.
- Heavy cream (120 ml), cold: Whips into the mascarpone to make it fluffy and spreadable, keep it very cold.
- Powdered sugar (60 g), sifted: Sweetens without grittiness, sifting is worth the extra step to avoid lumps.
- Instant espresso powder: Dissolve it completely in hot water first or you'll get bitter specks in the cream.
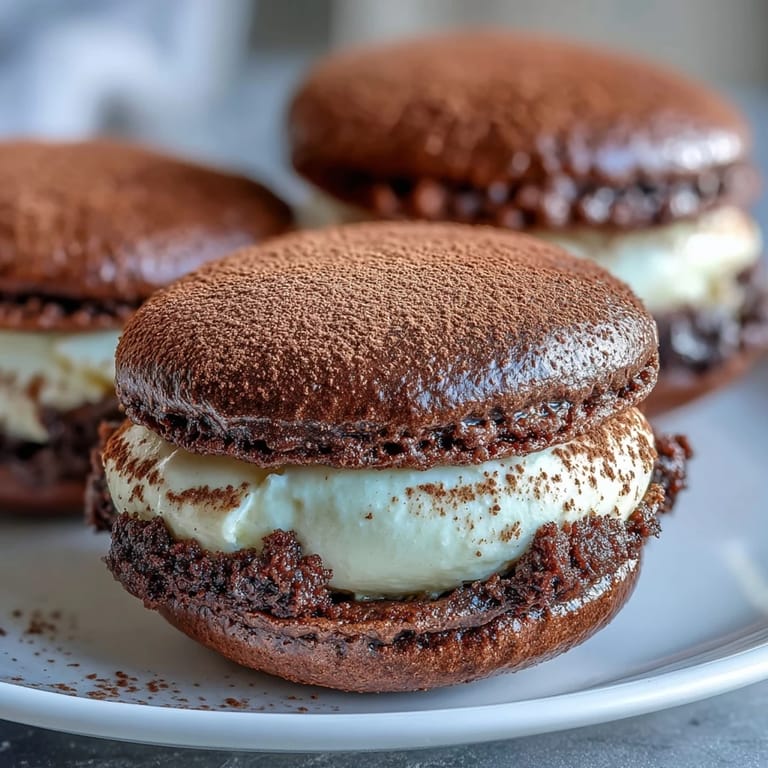
- Cocoa powder for dusting: The final touch that makes them look like little tiramisu pillows.
Tired of Takeout? 🥡
Get 10 meals you can make faster than delivery arrives. Seriously.
One email. No spam. Unsubscribe anytime.
Instructions
- Prep the oven and pans:
- Preheat to 350°F and line two baking sheets with parchment, no need to grease. This keeps the bottoms from spreading too much and makes cleanup easy.
- Mix the dry ingredients:
- Whisk together flour, cocoa, baking powder, baking soda, and salt in a medium bowl until no streaks remain. Set it aside while you work on the wet ingredients.
- Cream butter and sugar:
- Beat softened butter and sugar together until pale and fluffy, about three minutes with an electric mixer. Scrape down the sides, then beat in the egg and vanilla until smooth.
- Combine wet and dry:
- Add the dry mixture in three additions, alternating with the milk, starting and ending with dry. Mix just until combined, don't overwork or the cookies will be tough.
- Scoop and bake:
- Drop 24 even mounds of batter onto the parchment, spacing them two inches apart. Bake for 10 to 12 minutes until they spring back when lightly pressed, then cool on the pan for five minutes before transferring to a rack.
- Make the espresso mixture:
- Dissolve instant espresso powder in hot water and let it cool completely. If it's warm, it will melt the mascarpone and ruin the texture.
- Whip the filling:
- Beat mascarpone, cold heavy cream, and powdered sugar until smooth and thick, but stop before it gets grainy. Gently fold in the cooled espresso and vanilla, then chill for 20 minutes if it's too soft to spread.
- Assemble the whoopie pies:
- Turn half the cooled cookies flat side up, spread or pipe a generous amount of filling on each, then top with the remaining cookies. Press gently so the filling reaches the edges.
- Dust and chill:
- Sift cocoa powder over the tops for that classic tiramisu look. Refrigerate for at least 30 minutes so the filling sets and the flavors meld together.
 Pin It
 The first time I served these, someone asked if I had bought them from a bakery. I didn't correct them right away. I just smiled and watched them take another bite, the cocoa dust clinging to their upper lip. That small moment of disbelief felt better than any compliment.
Storage and Make-Ahead Tips
These keep beautifully in the fridge for up to two days in an airtight container. You can bake the cookies a day ahead and store them at room temperature, then fill them a few hours before serving. The filling also freezes well if you want to prep it in advance, just thaw it in the fridge and give it a gentle stir before using.
Flavor Variations
For a boozy version, fold a tablespoon of coffee liqueur or dark rum into the filling. If you want a lighter option, swap half the mascarpone for whipped cream cheese, though the flavor will be tangier. I've also dusted the tops with finely grated dark chocolate instead of cocoa, which adds a subtle crunch.
Serving Suggestions
Serve these on a platter with tiny espresso cups for a dessert table that feels like an Italian cafe. They're perfect alongside fresh berries or a scoop of vanilla gelato. If you're feeling fancy, drizzle a little chocolate ganache over the tops before the final cocoa dusting.
- Pair with a strong espresso or a glass of sweet dessert wine.
- Let them sit at room temperature for 10 minutes before serving so the filling softens slightly.
- Garnish the platter with fresh mint leaves or chocolate shavings for extra elegance.
 Pin It
 These little sandwiches have a way of turning an ordinary afternoon into something worth remembering. Make them once, and I think you'll keep them in your repertoire for all the moments that need a little magic.
Recipe FAQs
- → Can I make these whoopie pies ahead of time?
Yes, you can prepare these up to 2 days in advance. Store them in an airtight container in the refrigerator to maintain freshness and texture.
- → What can I substitute for mascarpone cheese?
Cream cheese works as a substitute, though it will create a tangier flavor profile. For best results, use full-fat cream cheese at room temperature.
- → How do I prevent the filling from being too runny?
Ensure your mascarpone and cream are well-chilled before whipping. Avoid overbeating, and refrigerate the filling for 20-30 minutes if it appears too soft.
- → Can I freeze these whoopie pies?
Yes, freeze assembled whoopie pies in a single layer, then transfer to an airtight container. Thaw in the refrigerator for several hours before serving.
- → How strong is the coffee flavor?
The espresso flavor is noticeable but balanced. Adjust the instant espresso powder to taste—use less for milder flavor or more for a stronger coffee kick.
- → What makes these different from regular whoopie pies?
The coffee mascarpone filling and cocoa dusting give these a sophisticated tiramisu-inspired twist, elevating them beyond traditional marshmallow-filled versions.