 Pin It
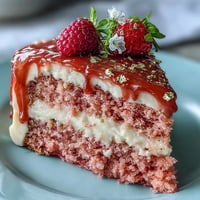
 My neighbor brought these over one afternoon, still warm from her oven, and I ate three before even setting them down properly. What struck me wasn't just how buttery they were, but how that homemade strawberry jam filling tasted like summer distilled into something you could hold in your hand. I had to ask for the recipe, and when she handed it over, I realized these weren't difficult at all—just thoughtful. Now I make them whenever I need a moment of quiet in the kitchen and something pretty to show for it.
I made these for my daughter's soccer team one season, and watching a bunch of nine-year-olds realize these tiny pockets held actual fruit was oddly touching. One kid asked if I'd made the jam from real strawberries, and when I said yes, he held the cookie like it was something precious. That's when I understood these aren't just cookies—they're small gestures that say someone cared enough to make something real.
Ingredients
- Unsalted butter, softened (1 cup): Room temperature butter creams smoothly with sugar, creating that tender crumb; if it's too cold, you'll wrestle with lumps.
- Granulated sugar (2/3 cup): The foundation of texture and sweetness—don't skip the creaming step or your cookies will be dense.
- Large egg yolk (1): Just the yolk keeps the dough rich without making it cake-like; the white would add too much structure.
- Vanilla extract (1 teaspoon): A small amount that whispers in the background, letting the strawberry jam be the star.
- All-purpose flour (2 1/4 cups): Measure by spooning into the cup and leveling off to avoid packing it down and making tough cookies.
- Salt (1/4 teaspoon): Just enough to brighten the butter and make the jam filling taste brighter.
- Fresh strawberries, hulled and diced (3/4 cup): Use strawberries at peak ripeness—soft berries break down faster and taste sweeter; hard ones will fight you.
- Granulated sugar for jam (1/3 cup): This draws the juice from the fruit and helps the mixture set to the right consistency.
- Lemon juice (2 teaspoons): Prevents the jam from tasting flat and helps it gel without needing to cook for ages.
Tired of Takeout? 🥡
Get 10 meals you can make faster than delivery arrives. Seriously.
One email. No spam. Unsubscribe anytime.
Instructions
- Get everything ready:
- Preheat your oven to 350°F and line two baking sheets with parchment paper so you're not scrambling once the dough is made.
- Make the strawberry jam:
- In a small saucepan, combine your diced strawberries, sugar, and lemon juice over medium heat. Stir frequently and watch for the moment when the berries soften and the liquid thickens into something jammy—about 8 to 10 minutes—then let it cool completely on the counter while you work on the dough.
- Cream the butter and sugar:
- In a large bowl, beat your softened butter and sugar together until it's light, fluffy, and pale—this usually takes 2 to 3 minutes with an electric mixer. This step is where the magic happens, so don't rush it.
- Add the egg and vanilla:
- Drop in your egg yolk and vanilla, beating until everything is smooth and fully incorporated.
- Mix in the flour and salt:
- Gradually add your flour and salt, stirring gently just until a soft dough comes together. Overmixing makes cookies tough, so stop as soon as you don't see streaks of flour.
- Shape the cookies:
- Scoop tablespoon-sized portions of dough and roll them into balls with your hands. Arrange them on your prepared baking sheets about 2 inches apart so they have room to bake evenly.
- Make the thumbprints:
- Using your thumb or the back of a small teaspoon, press a gentle indentation into the center of each ball. The dough is forgiving here—just create a little pocket about the size of a pea.
- Fill with jam:
- Spoon about 1/2 teaspoon of your cooled strawberry jam into each indentation. The jam should nestle in the pocket without spilling over the edges.
- Bake until golden:
- Bake for 13 to 15 minutes, watching for the edges to just start turning golden. The centers will still look slightly underdone—that's exactly right because they'll continue cooking on the hot pan.
- Cool properly:
- Let the cookies rest on the baking sheet for 5 minutes to set, then transfer them to a wire rack to cool completely. This prevents them from breaking apart when you pick them up.
 Pin It
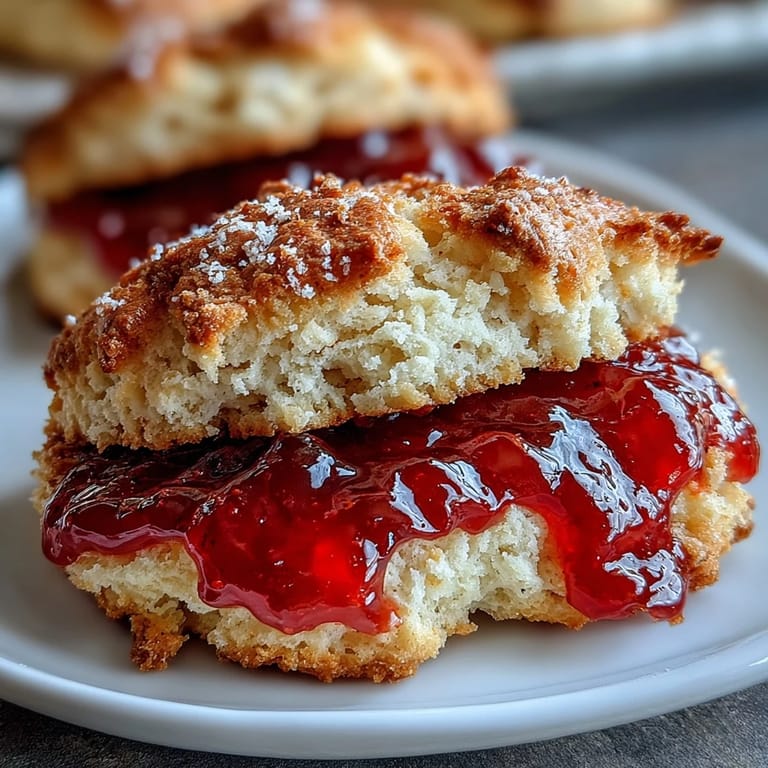
 There's something about the smell of butter and strawberries baking together that makes you feel like you've done something kind, even if it's just for yourself. These cookies remind me that the best recipes don't need to be complicated—they just need to be made with intention.
Jam Timing and Temperature Matter
I learned the hard way that rushing the jam will sabotage everything. The first time I made these, I tried to speed things up by turning the heat too high, and the berries turned dark and bitter instead of bright and fresh. Now I keep the heat at medium and just stir patiently, letting the fruit naturally break down and release its juice. The smell tells you when it's ready—it shifts from tart and fruity to something deeper and more complex. When you taste a tiny spoonful off a cold spoon and it coats the spoon instead of dripping off, you know you're done.
The Texture of Perfect Cookie Dough
The dough should feel soft but not sticky—if you can roll it into a ball without it sticking to your fingers, you're in the right place. Sometimes humidity affects how the flour behaves, so if your dough feels too wet, dust your hands with a bit more flour before rolling. Trust the feel of it more than anything else; your hands know better than any instruction what the dough needs. One trick I picked up: slightly cool hands work better than warm ones, so run them under cold water before shaping if the kitchen is particularly warm.
Variations and Personal Touches
Once you understand how these work, you can play around. Raspberry jam gives you something more tart and elegant, while apricot jam leans warmer and more complex. You could also dust the cooled cookies with powdered sugar for a touch of sweetness and a prettier presentation. If time is genuinely short, there's no shame in using quality store-bought jam—the cookie itself is what takes time and care anyway.
- A light dusting of powdered sugar looks beautiful and adds just a whisper of extra sweetness.
- Store these in an airtight container for up to 4 days, though they rarely last that long.
- If you're gifting them, pack them carefully so the jam pockets don't get squished during transport.
 Pin It
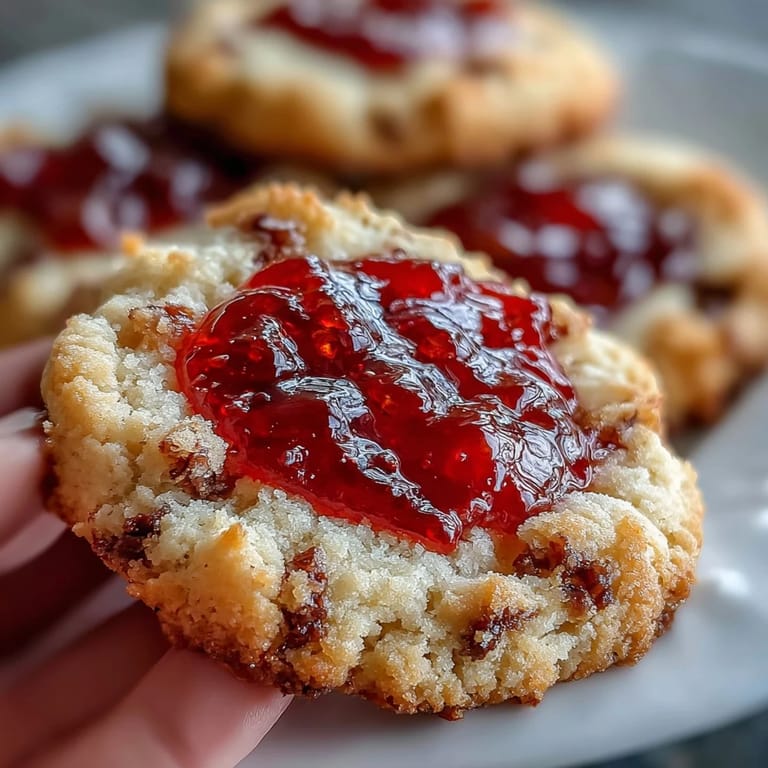
 These cookies are proof that simple ingredients, treated with care, become something memorable. Make them for someone, or make them for a quiet afternoon—either way, you'll understand why they disappeared so quickly at my neighbor's kitchen.
Recipe FAQs
- → How do I make the strawberry jam filling?
Cook diced fresh strawberries with sugar and lemon juice over medium heat, stirring until thickened, then cool completely before filling.
- → Can I use store-bought jam instead?
Yes, high-quality store-bought strawberry jam can be used for convenience without sacrificing flavor.
- → What is the best way to shape the cookies?
Roll dough into balls, make a thumbprint indentation in the center, and fill with cooled jam before baking.
- → How long should the cookies bake?
Bake at 350°F (175°C) for 13 to 15 minutes until the edges just start to turn golden.
- → Can I substitute jam flavors?
Yes, raspberry or apricot jams provide delightful variations to the classic strawberry filling.
- → What tools are recommended for preparation?
Using mixing bowls, an electric mixer or whisk, saucepan, baking sheets, parchment paper, and a wire rack is ideal for best results.